Several years ago I purchased a MINI MILL. It is a machine that mechanizes the agitation needed to make felt. It produces a 32”x44” sheet of felt–large enough to make a vest.
Using my Romney roving and batts, I lay down three layers of fiber, changing the direction of the fiber with each layer. I will also put down a forth layer that will contain the design.
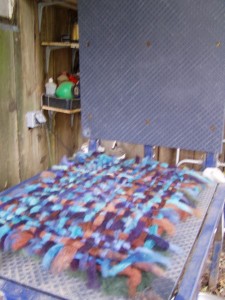
I do the batt layout and the design layer on an old window screen. This eliminates the hours of standing over the Mill – it is outside- that it takes to get everything together. The old screen allows me to work in a more comfortable space and sit down if I want to.
When the piece is as I want it, it will slide right off the screen and onto the bed of the machine.

The batt ready to be felted in the mini mill
I wet it down with hot, soapy water applied by watering can. When the piece is well soaked, I start the machine. It will be felted to the degree I want it to be in 60 minutes. The next step is to rinse out the soap and spin out the water in the washing machine.
Next, I pull it into shape and let it dry.
An interesting fact about felting with this machine is that it felts the wool but doesn’t full (shrink) it. Therefore, my piece holds together and is soft and drapable enough for clothing.
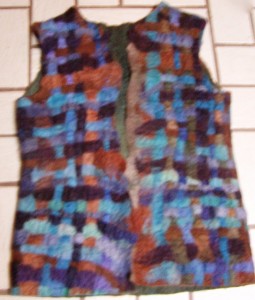
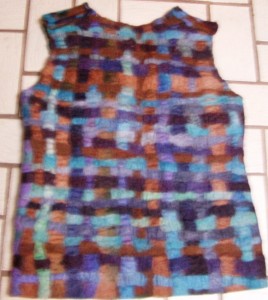
After the piece is dry, I lay out the pattern pieces and cut out my garment. I use a pattern with shoulder seams only. The felt is easily sewn on a regular sewing machine. Adjust for a longer stitch, lap the seams and -if you want – you can needle felt the seam edges giving the garment a smooth overall look.

vest front

vest back
After construction, final shaping is possible using further felting on your washboard. Try the vest on, noting areas you want to take in. I shrunk the waist, the back of the armholes, and across the back of the neck, for a closer fit. Rewet the wool, and scrub gently. The piece will shrink in the direction you rub.
Try the garment on occasionally, being aware you cannot unfelt anything.
You will, again, rinse and spin your garment, pull it into shape and allow it to dry. Pressing with an iron helps smooth out the surface.
Edges can be finished by turning and hand or machine stitching, or needle felting.
You can spin and knit a strip to bind the edges, leave raw and irregular, or leave fringe. Felted balls and “worms” can be buttons and frogs. Use your imagination. You will end up with a one of a kind original.